One of my favorite things to do is turn Chuck's plain shirts, pants, and shoes into unique and fun pieces. For example, I painted him a pair of Lightening McQueen shoes and stenciled him an "I heart peeps" Easter shirt. So you could see why I was super excited when Plaid sent me some Ed Roth Stencil1 stencils and FolkArt Multi-Surface Paints to try out. I loved the stencils' bold and graphic look so much that I used them to update one of Chuck's plain shirts.
Ed Roth Stencil1 Stenciled Shirt
Keep reading to see how I stenciled Chuck's shirt!
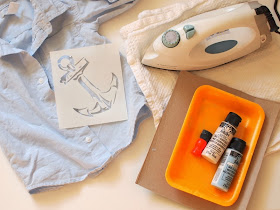
Materials Needed:
- Ed Roth Stencil1 Stencils*
- FolkArt Multi-Surface Paint
- Shirt
- Sponge Brush
- Tape
- Dish to hold paint
- Scrap Paper
- Iron
- Kitchen Cloth
How to Use Stencils:
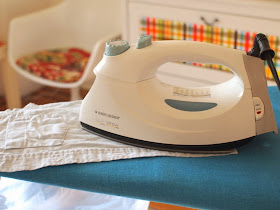
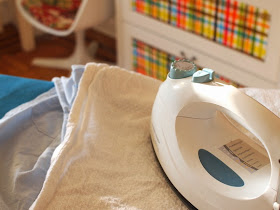
1. Iron your shirt. (This will help you to cleanly apply your stencil.)
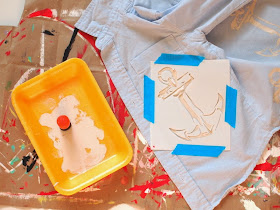
2. Place your shirt on top of your scrap paper to protect your work area (since the paint will go through).
3. Tape your stencil down to your shirt. (These stencils have a lot of great detail, so you don't want them to slide around as you stencil.)
4. Pour paint into your dish. Place your brush into the paint and then wipe off any excess paint. (You want a relatively dry brush or else the paint will seep out and blur your details.) Apply paint by tapping your brush up and down over your stencil.
(BTW- Did you know that these FolkArt Surface paints are dishwasher safe and can be used for indoor or outdoor projects? Yup. Cool, right?)
Apply one stencil, or a group of them to create a cool pattern! The stencils are made of durable, reusable mylar, so it was easy just to wash and dry them for repeated use.
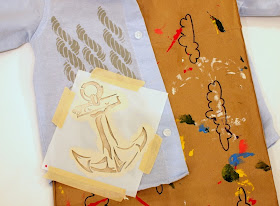
One of the other neat things about these stencils is that they can be used to create some cool layered looks. My set of Ed Roth stencils contained three large stencils. (Even though I used them on Chuck's clothes, they're a nice size to use on walls or furniture too.)
To create a layered look, I first stenciled the rope design onto my shirt. After the paint dried, I then stenciled on an anchor.
5. Once you're done stenciling, heat set your work to protect it. To do so, simply place a lightweight cotton cloth over your paint, and then iron over it.
And that's it! I love using stencils because they're an easy way to create some lovely, clean designs. These stencils were nice and study, created bold graphics, and were really easy to clean.
To learn more about Plaid products, check out their Plaid Palette Blog, Pinterest Page, Facebook page, Twitter, Youtube channel, or Instagram!
Happy stenciling friends!


