
Cup Weaving Tutorial
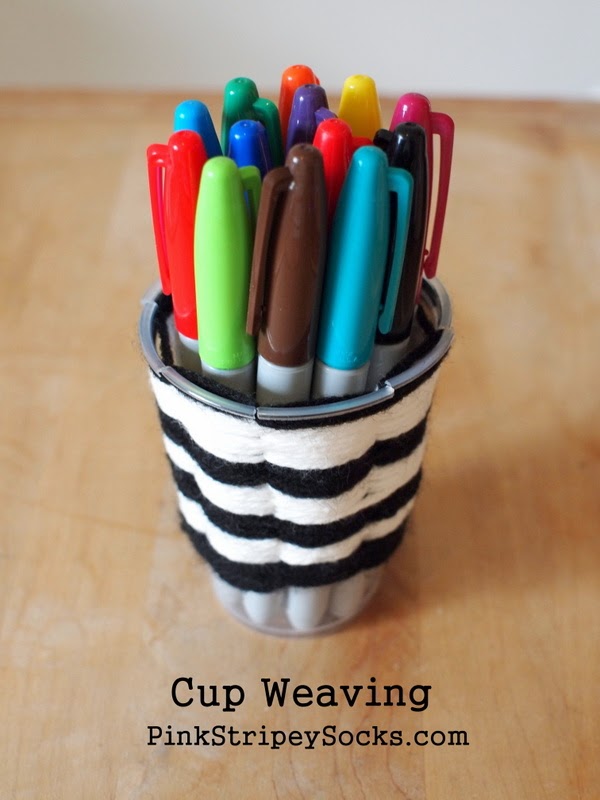
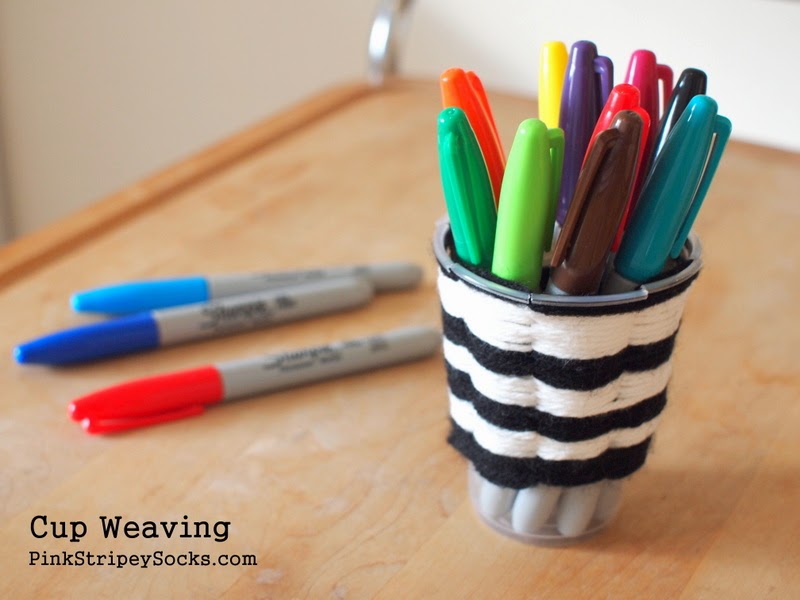
Pretty right? The yarn really transforms my plain old disposable plastic cup into something useful and beautiful. Ok. Let's get weaving!
Materials Needed to do Cup Weaving
(*Note: This post includes affiliate links which means that I earn a small commission for every purchase made at no extra cost to you. Thank you so much for your support!)
- Plastic Cups
- Yarn
(or ribbon or other string)
- Scissors
How to do Cup Weaving
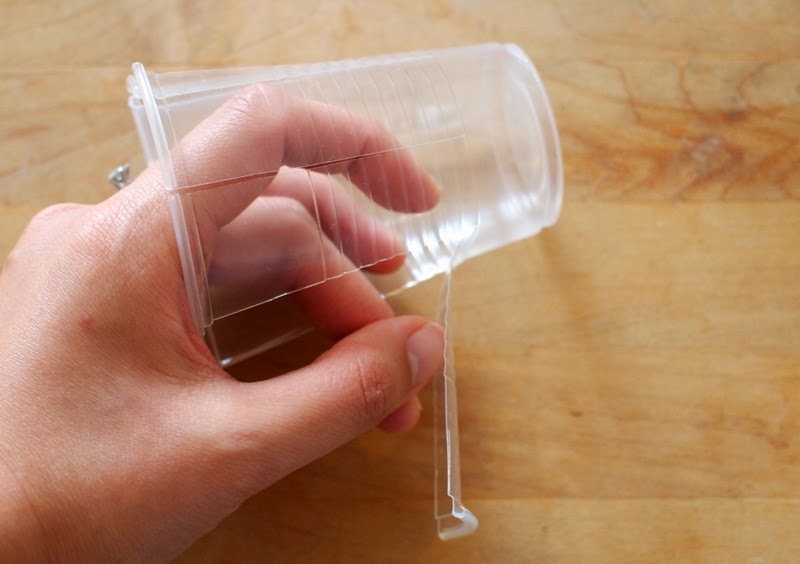
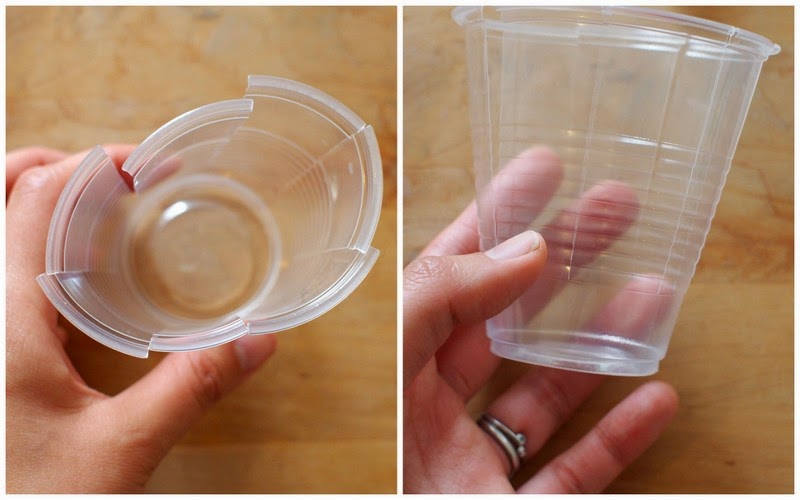
1. Cut out an odd number of tabs in your plastic cup. You can cut your slits all the way to the bottom of the cup, but I left about an inch of the cup still intact because I liked seeing the bottoms of my pens peeking out.
Here are some more photos of the plastic tabs:
Now let's do some cup weaving!

2. Cut out a length of string. Tie a double know on one end. Slip the knot inside one of your cuts. Make sure it's facing the inside of the cup and you won't see the knot from the outside.
3. Then start your cup weaving. Go over a plastic tab, and under a plastic tab. Keep repeating this over-under process over and over again.
Notes:
- Don't pull your yarn too tight or you'll distort the cup's shape.
- Slide the yarn down as you weave to fill up any empty space.
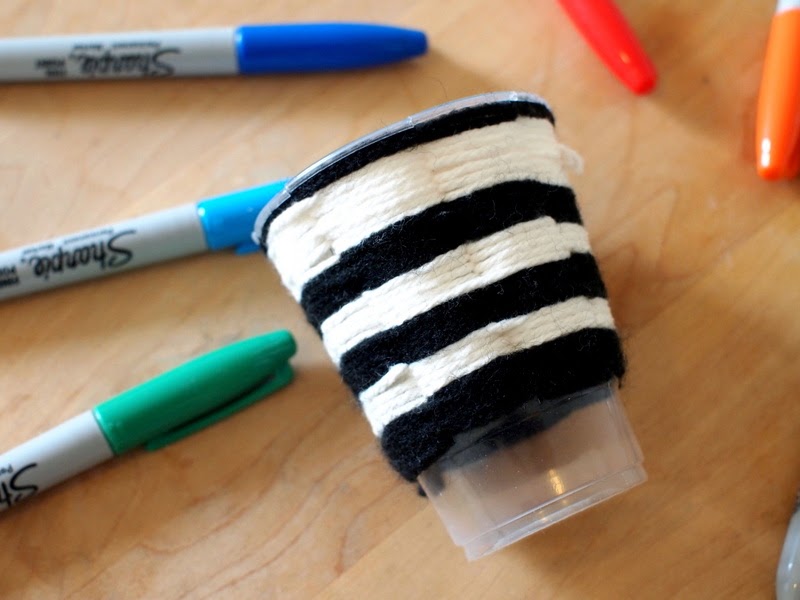
4. Soon you'll see a band of color appear.
5. When you run out of yarn (or you want to change colors), simply tie another string (or in this case, I tried using ribbon) to your previous strand of yarn. Try to tie the knot so that it's hidden inside of the cup and not shown from the outside. Then, keep on weaving!
6. When you're done, just double knot off your string, trim it, and hide the excess bit inside of your weaving.
Here's what your cup weaving will look like from the inside:
(Note: If you look closely, you'll see that I have an even number of plastic tabs. That caused a problem in my weaving, so be sure to cut out an odd number of weaving tabs.)

Here's what your cup weaving will look like from the outside:
Now you've got a lovely cup to hold all your favorite pens!
Psst- Looking for more cool weaving projects?
There are a ton of crafty weaving ladies on the internet. Here are some of my favorite weaving projects below:- Buggy and Buddy's Homemade Popsicle Stick Weaving Loom
- Red Ted Art's Paper Plate Weaving
- Artchoo's Coat Hanger Weaving
- Babble Dabble Do's Wood Stump Loom
- Poppy Haus's Cardboard Weaving Tutorial