
Let's Make Wire Wrapped Nature Pendants!

This post contains affiliate links. Thank you for your support!
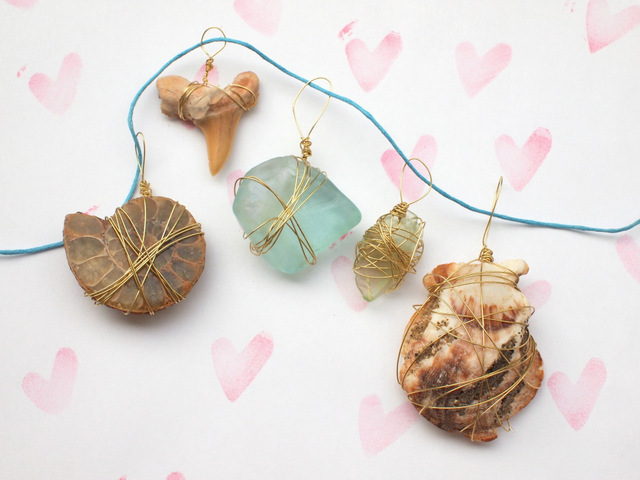
Aren't they lovely? We love doing nature crafts, like making melted crayon friendship rocks, weaving with flowers, building birds nests, and constructing play dough and rock houses. Today's wire wrapped pendants are a too difficult for the preschool crowd, but adults and older children can easily wrap pendants for younger ones!

Here's what you'll Need:
- Scissors
- Assortment of Natural Treasures: (The flatter, the better!)
- Shells, Sea Glass, and Rocks collected at the beach
- Geodes (Can you believe that we made our own using DIY Geode Kits?)
- Shark Teeth
(I wish we could find them on our shores!)
- 25 gauge jewelry wire
- Optional: E6000 Glue
Ok, let's get wrapping!

1. Cut your wire. (The longer wire, the better. It takes quite a bit of wire to wrap around each item and you can always cut off any excess bits. I cut mine as long as my two arms spread apart.)
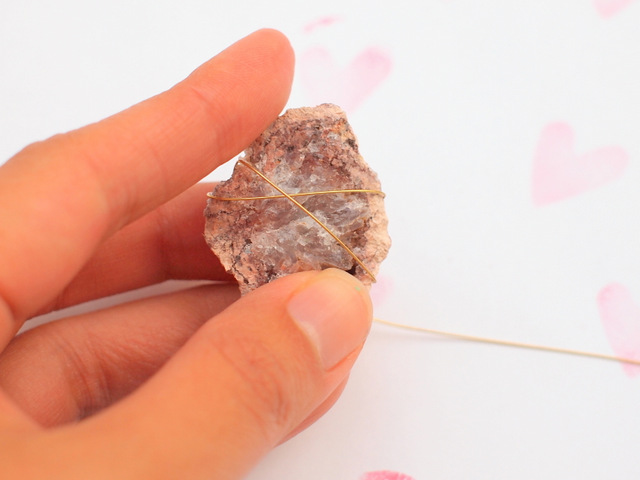
2. Then, start wrapping. Hold one end behind your pendant. Then, wrap your wire in all directions around your rock/shell. Make sure that everything's nice and tight. (If you find that your wire keeps slipping, you could also also dab a drop of E6000 Glue
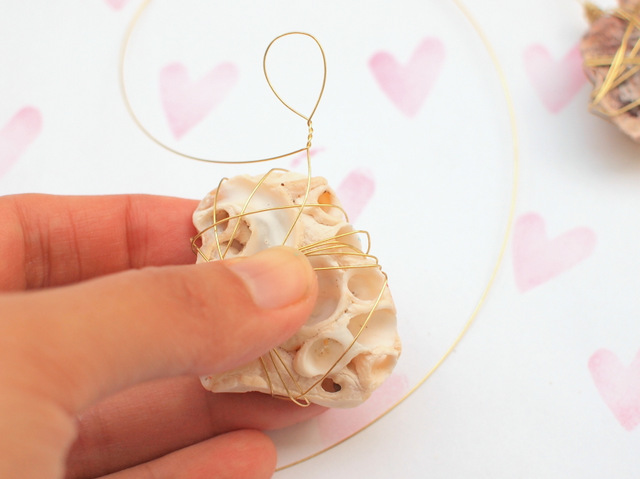
3. Once you feel like your wires are securely wrapped around your object, it's time to make the loop! Create a loop with your wire and then twist the loop several times to help it keep it's shape. Then, continue wrapping your object tightly.
4. Once your wire holds the object in place, finish off your pendant by repeatedly wrapping the excess wire around the bottom of your loop, moving from bottom to top. This will ensure that everything stays in place! Then, trim off any excess bits.
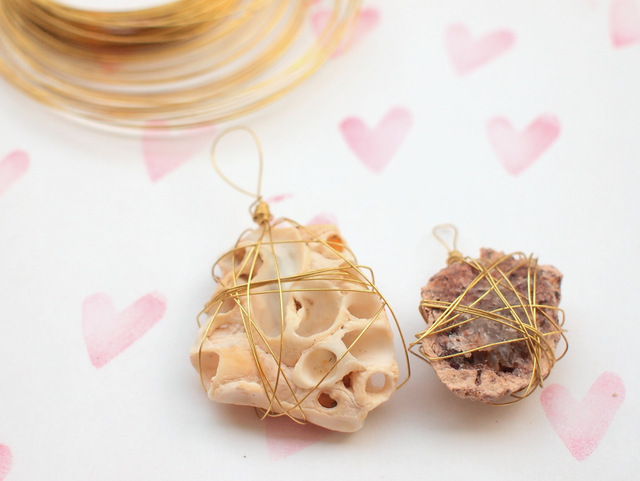
These are so easy to make, you'll soon find yourself with dozens of lovely, natural, wire wrapped pendants!

Aren't they lovely?
20 Stunning Crafts Incorporating Nature
Are you a lover of Nature crafts too? Well then you're in luck! Today's post is part of a collaborative 10 day series where 10 talented kid-craft bloggers share 20 beautiful nature crafts. So definitely check out the link out for more fantastic ideas!

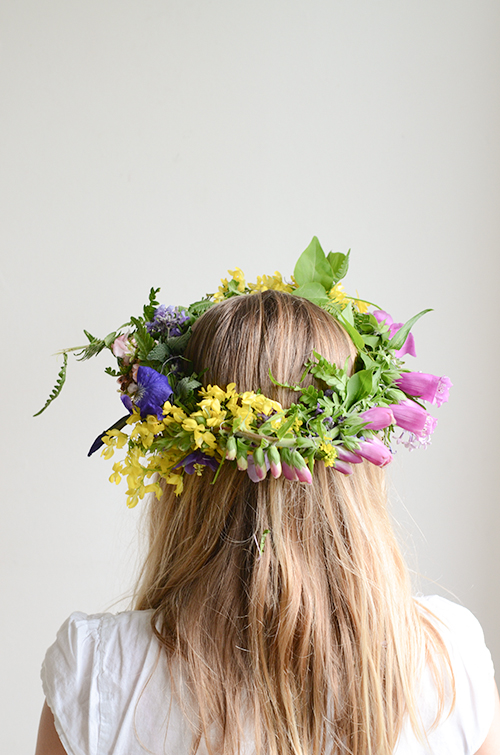
And just to whet your appetite, here's yesterday's nature craft. Gina from WillowDay shared these drool worthy one-of-a-kind flower crowns!
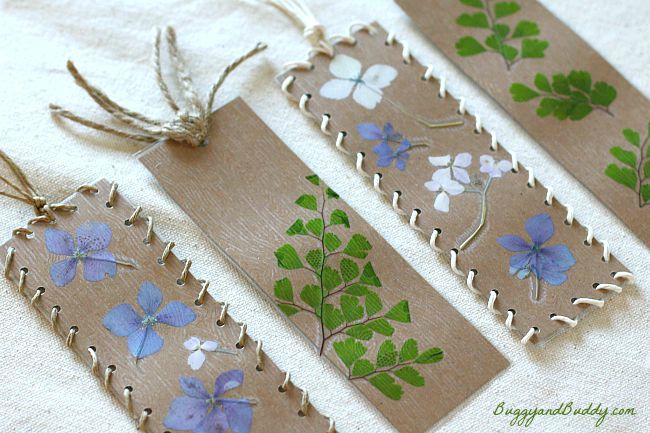
And tomorrow, Chelsey from Buggy and Buddy will be sharing some super easy Pressed Flower Bookmarks.
Let's keep in Contact!

Pin It