
Growing up, I loved this time of the year for two reasons. 1) I loved school. (Yeah, nerds!) and 2) I loved back to school shopping. New blank notebooks? Swoon. New clothes and shoes? Double swoon. (Was anyone else like this as a kid?)
But, buying a ton of new items gets costly quite quickly.
Fueled by my thrifty nature, I made these spiked and braided t-shirt bracelets. They came out pretty cute. I like to imagine some creative, quirky gal wearing them to the first day of school.
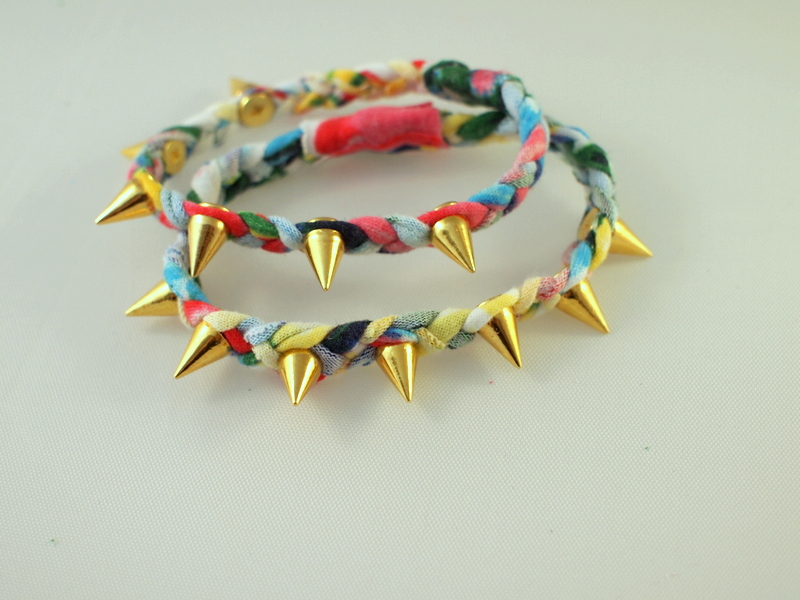 |
| The colors are quite girly, but the spikes show that you've got some spunk! |
Materials:
- Multicolored T-shirt
- Fabric scissors
- Spikes with screwbacks
- Pen (Optional)
- Needle and thread
- Tacky Glue
Directions:
1. Cut up your multicolored t-shirt into large rectangular pieces of fabric. (I cut out one long horizontal panel from the tummy section and one long vertical panel from the back of the shirt.)
2. Cut out uniform fabric strips. (Mine were about the width of my pinkie nail.) Don't worry if your strips have jagged edges. You'll get rid of those in the next step.

3. Pull your strands and watch your fabric strips become strings. No more jagged edges!
(Interesting note: Remember how I cut a piece of horizontal fabric from the front of the shirt and a vertical piece of fabric from the back? Well, the fabric strips from those two sections curved in two different ways. Some curved so that the colorful t-shirt print showed and others curved so that the t-shirt's inside showed. Does any cloth-savy person know why this was the case?)
 |
| Left: Vibrant colorful strings Right: Paler strings |
4. Take three t-shirt strings, tie them in a knot and braid them together. (You could also do a 4 strand braid too.) Once you have a braid that's much longer than your wrist's circumference, tie a knot to end the braid.
5. Time to add the spikes! Push the screwbacks through your braid, and simply screw on the spikes.

6. Now let's fit your bracelet. Measure your bracelet around your arm. Note where the bracelet should start and end so that it fits comfortably around your wrist. (Don't make it bigger than your wrist because the t-shirt material will stretch.)
Then, hand sew across the braid on one end. Cut the excess braid off. Repeat the same procedure for the other end. Now your braids will not come undone and your bracelet will fit perfectly on your wrist. Now sew the two ends together.
Note: I'm a stinky sewer. I struggled to sew a neat line. But it didn't matter one bit because my stitches got covered in the next step.
 |
| Ack! Avert your eyes from my crazy stitches.... |
 | |
| Phew. Hidden stitches. |
Happy crafting! (And have a great start of the school year too!)
