
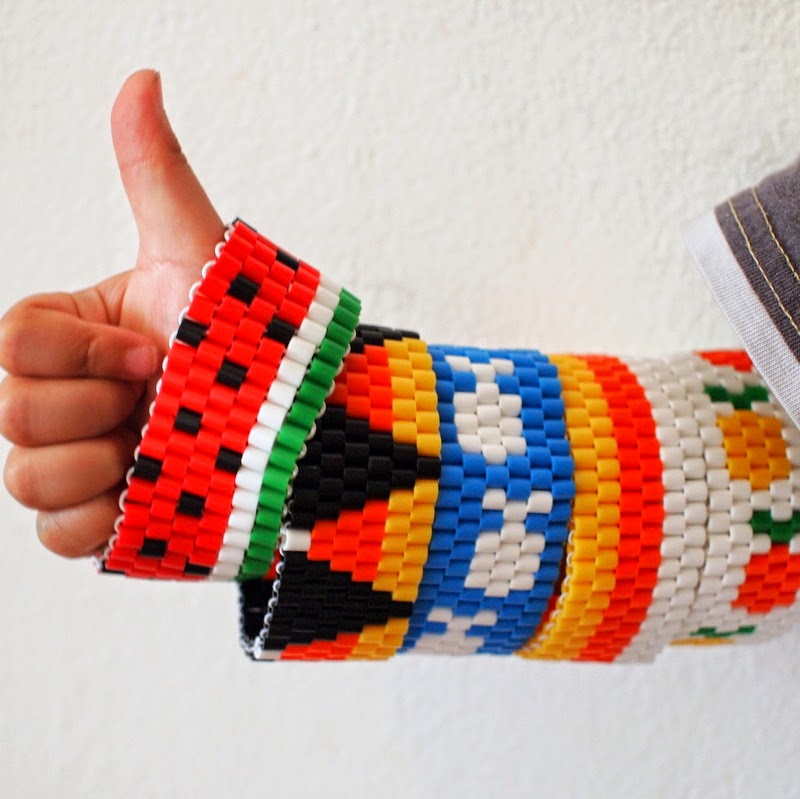
Awhile back I had the wonderful opportunity to do a post swap with Allison from Dream a Little Bigger. (She's a serious crafting all-star, so I definitely recommend checking out her blog if you want to get seriously inspired.) While packing the other day I found my collection of DIY Perler Bead Bracelets (see the bottom of the post for pictures.) And then I realized that I never shared my tutorial here. So tada! Here's a post from the archives. Today we're going to make these lovely "fish" and "fruit" perler bead bracelets.
Make "Fish" and "Fruit" Perler Bead Bracelets

(This post contains affiliate links. Thank you so much for your support.)
Aren't they both so colorful and summery? Don't you just want to make one? It feels like summer camp all over again... Let's get stringing!
Materials Needed to Make Perler Bead Bracelets:
- Perler Beads
- Scissors
- 1mm Elastic Cord
Let's Make A "Fish" Bracelet!
(Note: Both bracelets follow the same stringing pattern. So I'll just share the fish bracelet tutorial. You can easily change the colors to make the fruit bracelet. )
 1. Cut out a strand of cord. (It doesn't matter what
length you choose You'll end up tying on more cord later.) Tie on a bead to act as a stopper. (Choose whatever color you want. I chose a black bead. You'll remove this
bead at the end.)
1. Cut out a strand of cord. (It doesn't matter what
length you choose You'll end up tying on more cord later.) Tie on a bead to act as a stopper. (Choose whatever color you want. I chose a black bead. You'll remove this
bead at the end.)
2. String on six blue beads. (I labeled the beads in the photo with numbers to help out with the next step. ) These six beads will be your first column of beads.
Congrats! You've got the basis for the rest of your bracelet. See how some portions of the bracelet jut out and some portions of the bracelet don't? As you build your bracelet, you'll alternate between adding a bead to fill in a gap, and stringing your cord through a bead that juts out.

4. Now we're going to string one fish. Remember to pull your string tight after stringing each column of beads.
Column 3: Add a blue bead, string through 9th blue bead, add a white bead, string through 8th blue bead, add another white bead, string through 7th blue bead
(From now on, I'll just tell you what color beads to add. Remember to alternate between adding a new bead and stringing through a bead that's jutting out.)
Column 4: Blue, white, blue
Column 5: Blue, blue, blue
Column 6: Blue, white, blue

Column 8: Blue, white, blue
Column 9: Blue, white, white
Column 10: Blue, white, blue

Column 12: Blue, white, blue
And now you have a fish. Add a couple of columns of blue beads and then make some more fish. (I alternated heights to make the bracelet a bit more interesting.)


Voila. You're done.

And if you follow me on Instagram, you'll probably have realized that I kind of have a thing for Perler Beads.... eh hem....
So if you want to see tutorials on how to make other woven DIY Perler Bead Bracelets, check out the links below:
Or if you want to see other Perler Bead project tutorials, click on the links below:
- Melted Perler Bead Bracelet
- Perler Bead Safety Pin Bracelet
- Perler Bead Zip Tie Statement Necklace
- Perler Bead Bowls
And, of course you can always check out my Pinterest, Facebook, Instagram, or Twitter accounts for more fun ideas.
Happy stringing!