
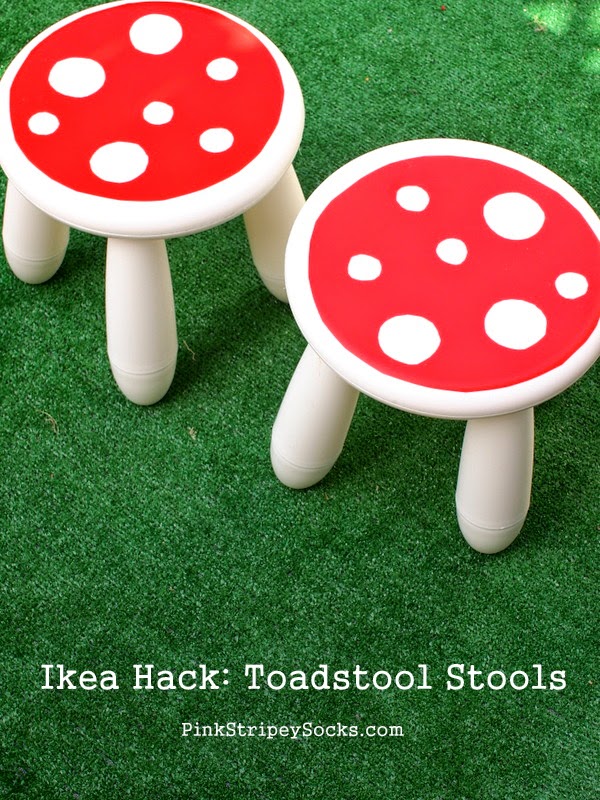
Toadstool Stools!
(This post contains affiliate links. Thank you so much for your support!)
Hee hee hee. Whoa. Super Mario super mushroom flashback!
Ok. I've snapped out of it. Yup. They're pretty darn cute and they were super easy to make. Let's get mushroom making!
Materials Needed to Make DIY Toadstool Stools
- White Ikea Mammut Stools
- Scissors
- Red Contact Paper
(I had a really tough time finding this in stores, so I just ordered it from Amazon)
- Circular objects
- Tracing Paper
- Pen
Let's to this!

1. Wipe down the top of your stool. You want to adhere your contact paper to a clean surface.
2. Turn the stool upside down onto the tracing paper. Then, trace the circular top onto the piece of paper. (You could also just do this directly onto the contact paper, but I didn't want to waste my contact paper.)
3. Cut out your circle. Place it on top of your chair. Then, trim the edges to make the circle a bit smaller. (I didn't want to deal with covering the curved edges of the stool, so I did this to make everything super easy for me.)
4. Trace some circular objects onto your circle to make the white spots. Then, cut those out.
5. Once you're pleased with this practice circle, trace it onto the contact paper. Cut everything out.
Now it's time to attach the contact paper. This was the most difficult step because I kept getting bubbles in my contact paper. Grrr. Here are some tips that I learned after fighting with my first contact papered stool....

6. Lay your circle onto your stool to see where it should go. Then, peel off half of your contact paper off of the backing.
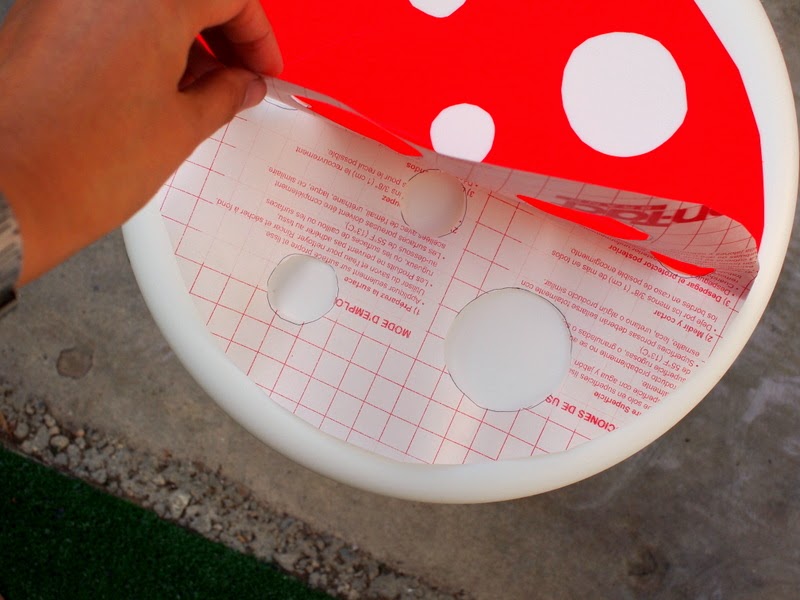
7. Starting from the middle of your circle, slowly press down from the center outwards to adhere your contact paper. I found that moving my hand parallel to my fold and smoothing the contact paper out from the middle really helped. Oh yeah, try not to pull or tug the contact paper. And if you find yourself with stubborn folds or bubbles, just pick it up and re-position it.
8. Once one half is adhered, slowly pull of the rest of the contact paper and smooth it out as you go (from the middle/folded portion outwards).
Yurp. I struggled with that first stool, but things definitely went a lot faster with the second one.
.JPG)
And that's it!

I love how these guys turned out. And I love that we now have personalized stools without spending very much money.

Looking for other crafts to do with contact paper?
Check these out!- Easy Kid Stenciled Artwork
- Easy Star Stenciled Artwork
- DIY Temporary Kitchen Cabinet Artwork
- Make Your Own Windowclings
- Contact Paper Stained Glass Windows
And you can always find other great ideas on my Pinterest, Facebook, Instagram, or Twitter accounts!
Happy mushroom making!