Showing posts with label printing. Show all posts

Monday, June 15, 2020

Easy Styrofoam and Marker Printmaking with Kids

Do you have styrofoam and markers? Looking for an easy and affordable way to create a “wow” art experience for the kids? Have you tried styrofoam and marker printmaking? We love doing printing activities together and ever since I saw Shelly's IG post sharing how to make prints without printing ink, I was excited to try the activity with my kids too. 

Here’s how we made prints with everyday items around the house.

How to Make Styrofoam and Marker Prints with Kids at Home

how to use markers and styrofoam to do easy printmaking activity with elementary aged kids- great cheap and recycled art project


Thursday, August 24, 2017

Easy Printmaking Project for Kiddos: Colorful Initials!

Howdy friends! Today I wanted to just pop in and share this colorful, kid-friendly printmaking project.  I know, it's been awhile since I've shared a printing project here. (I've been shying away from messier projects lately because my youngest has now entered the VERY precocious and active toddler years. Ahhh! )  But, I recently took a printmaking course and was enamored with the whole process.... so I had to try out the process with my eldest.

Let's Print Kid Initials


Easy Printmaking Project for kids- Print your Initial

Note:  This post contains affiliate links.  This means I make a small bit of change when you purchase items through the links.  Thank you for your support and the grocery money.  For my full disclosure policy, click here.

Friday, March 18, 2016

Easter Egg Printing

I've been wanting to to try printmaking with my preschooler for awhile now.  After seeing this great  Easter Egg Printing post from The Artful Parent, I thought I'd give styrofoam printing a try.  Styrofoam printing is cheap and doesn't (really) need any special materials.   Sounds great, right?   Today's Easter craft is making these neat Easter Egg Prints with your kiddos.

Egg-cellent Easter Egg Printing!


Make Easter Egg Prints with kids- fun holiday art project
This post contains affiliate links.  Thank you for your support!  For my full disclosure policy, click here

Wednesday, February 17, 2016

Easy Kids' Art: Lego Stamping (and some great STEAM books!)

Have you ever tried making art with lego?  

Easy Kids' Art:  Lego StampingLego Stamping with Kids- Easy and Fun Art

This post contains affiliate links.  Thank you for your support.  For my full disclosure policy, click here.

Wednesday, March 18, 2015

3 Ways to Make Fruit and Vegetable Prints with Kids

Hey!  Are you going to throw away that shriveled carrot?  Got a few limes rolling around in the fridge and not sure what to do with them?  Then today's post is for you!  Today I'm going to share 3 fun ways to make fruit and vegetable print artwork!  And just to give you a heads up... one of the methods combines art AND science together to create prints that .... MAGICALLY APPEAR when you heat them.  Whoa.....

3 Ways to make Fruit and Vegetable Prints!

3 ways to make art with fruit and vegetable prints (including one magical + scientific way!)
                          This post contains affiliate links.  Thank you for your support!

Today several other kid craft-loving bloggers and I are sharing cute and fun crafts involving fruit and vegetable prints.  So scroll down to the bottom of the page for 10 MORE fun and crafty fruit and vegetable print ideas!

Let's get started!


Friday, February 21, 2014

Printing with Flowers

Do you have wilting flowers?  Before tossing them away, why not try making some flower prints with them?   Chuck and I dipped flower heads in paint and made some lovely prints.  Then, once the prints dried, I turned them into some personalized, springy stationary.

printing with flowers and turning it into stationary
So don't throw away your Valentine's Day flowers just yet.  Keep them and make some cards! 


Tuesday, January 28, 2014

Toddler Painted Valentine's Day Cards (for a Teacher and Parent)

(Hubby- Please don't read this post because the bottom card is for you.)

Illness + freezing cold temperatures = A LOT of time spent cooped up in a two-bedroom apartment

To help pass the time, Chuck and I have been doing tons of arts and crafts projects.  Luckily, he's got a new interest in painting and gluing. (Yes!  My son finally shows some interest in crafting with mommy!  Woo hoo!) Here are two Valentine's Day cards that we made together for Chuck's Sunday School teachers and hubby.

(So hubby, once again, do NOT read the bottom of this post...)

1.  Painted Fish Valentine's Day Card


Keep reading to see how we made this card (and to see hubby's card....shhh... it's a surprise)...

Thursday, February 21, 2013

Making potato stamps


Remember when I shared with you that my one word for this year was going to be  "try"?  Do you remember me saying that I would push myself to try new things... even when they seemed a bit frightening?

Well, guess what? *Gulp*  I've definitely been trying some new things out. .. and this post describes one of those things.

(You're probably wondering, "What?  Making potato stamps frightens you?  Girl, you gotta get out more...")

Oh no, no, no.  Let me back up.  A couple of months ago my aunt and I signed up to sell crafts at a craft fair.  *Gulp*  To any seasoned crafter, this would be no big deal.  You craft a bunch of stuff and then you sell it.  No biggie, right?

Ha!  It's a biggie because first you have to make a whole bunch of inventory...and second you gotta make sure your inventory is good enough to sell.

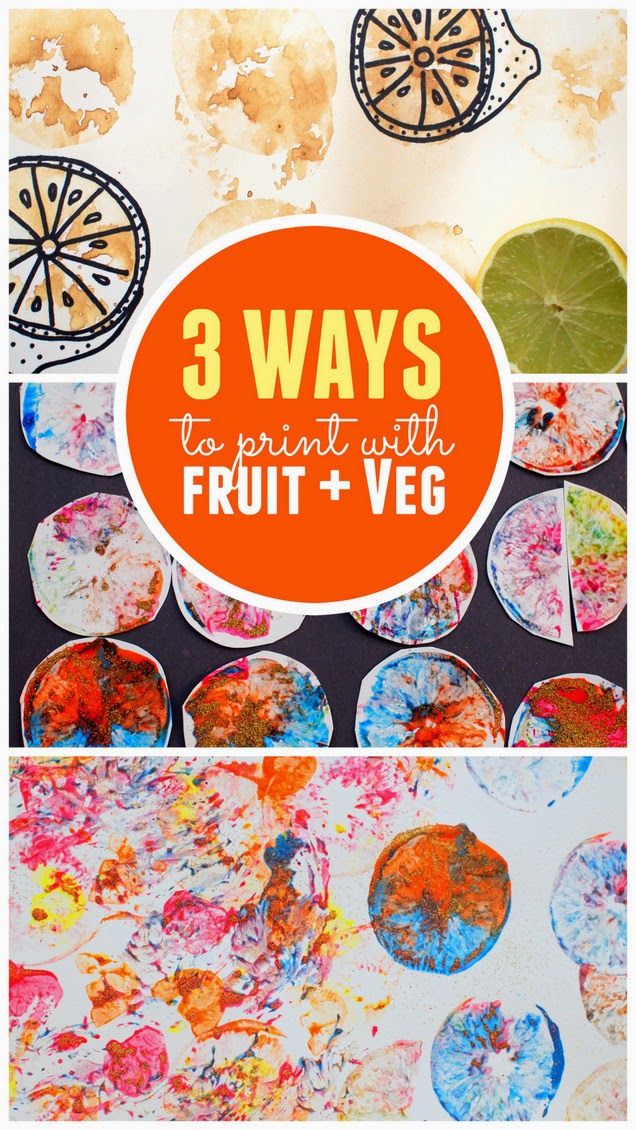
I signed up to sell greeting cards.  After reading Elisabeth Harden's kid's book on printing, I think I'm going to try stamping original designs onto my cards.  So I've been playing around with printing.   Here's my first attempt at making stamps out of potatoes:

I took a medium sized potato, cut it in half, and then carved out the design for two stamps.    My potato was super wet when I carved it, so I placed the potatoes (cut side down) on a piece of paper towel to dry them out before using them..  I made a makeshift ink pad by pouring a bit of craft paint onto a flat sponge and rubbing my finger over the sponge to help the paint soak in.  Then, I protected our dining room table by covering it with an old towel (since I didn't have any newspaper.)

All this took place while Baby Chuck napped.  When he awoke, he had a new  activity to try out.


The potatoes worked out as kid stamps... but I don't think they are good enough to decorate my cards.


Oh yeah, here are three big things I learned in the process:  (1)  Unless you're Leonardo DaVinci, you should write your word stamps backwards. No one wants to read mirror image writing.  (2)  Always put a smock on Chuck.  (Craft paint comes out in the wash, right?) (3)  I need to ditch the sponge ink pad and possibly get a craft roller... hmm...

Oh well.  That's what happens when you try new things.  Now... onto our next printing adventure!  (Hopefully I'll figure out something before the big craft show... eekers!)