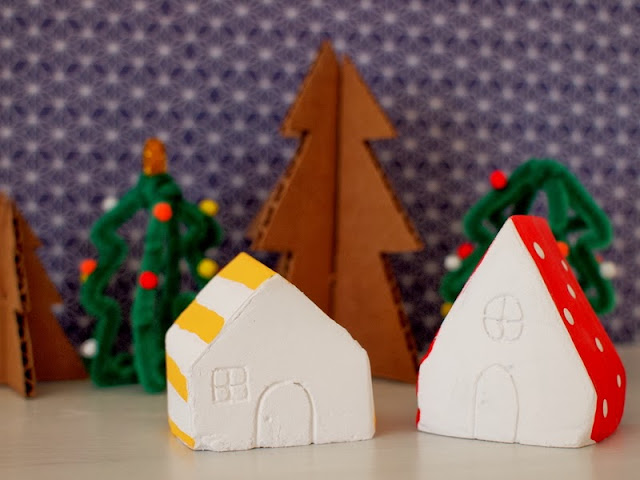
Nowadays, Chuck and I love looking at the miniature Christmas village on display at our local craft store. We always walk around oohing and ahhing over the little houses, ferris wheel, and tiny dog playing in snow. It's magical.
So that's why I made us our own miniature Christmas village out of materials that we had lying around our apartment.
Let's Make a DIY Mini Christmas Village!
This post contains affiliate links. Thank you for your support!
(Psst- Click here to see see how I made the pipe cleaner and cardboard trees.)
Materials to Make Mini Christmas Village:
- Paper
- Pen
- Scissors
- Juice boxes
- Duct Tape
- Disposable container for mixing, plastic cups, and spoons
- Something to cover your work area
- Plaster of Paris
- Skewer
- Paint brushes
- Craft Paint
Directions to Make Mini Christmas Village:
1. Cut off the tops and bottoms of your juice boxes. Wash them out and dry them.
2. Trace the juice box onto a piece of paper. Use the outline to create a house shape out of paper. Trace your house shape onto the front and back of your juice box. Then, cut out the area around the house on the front and back of your juice box. Then, fold down your juice box sides and tape them around your shape to create a roof. Make sure that your duct tape is secure and all your edges and holes are covered! You don't want anything dripping out. Now you've got your own little mold.
Optional: If you're worried that you might not have sealed the roof completely shut, you can pour some water into your mold to see if you have any holes.
3. Place your molds roof side down into a cup. Then, mix your plaster of paris according to your directions. Pour the mixture into your molds.
4. My directions told me to pull the houses out of the molds after 30 minutes and then let them fully dry on a covered surface. When I did this, my houses were still slightly damp and pliable, so I used a skewer to scratch a couple of designs into the houses.
5. Let your houses completely dry. (Mine took a couple of days.)
6. And then paint them!
These three little houses now sit next to our Christmas tree. Chuck thought they were super neat and kept driving his cars around them.... and then he crashed into them. Eek! But no worries. They were super easy to make, so I can always make new ones next year.
Happy Monday!


