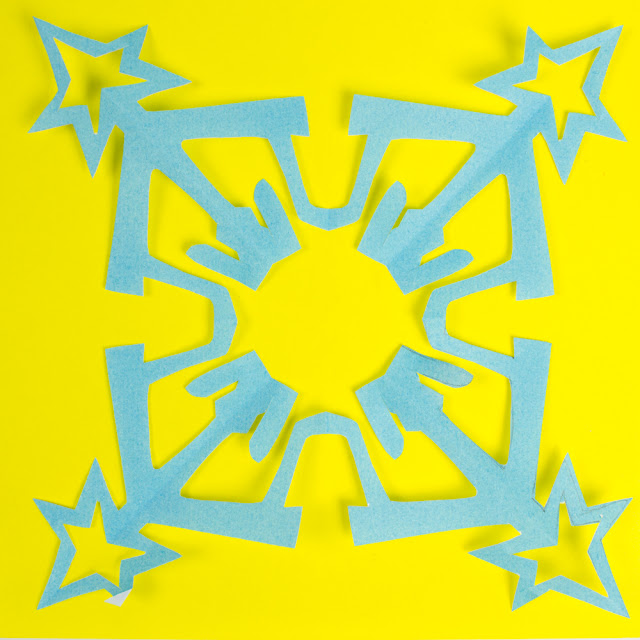
How To Cut Nativity Snowflakes
This post contains Amazon affiliate links. This means I make a small portion off of any purchases made through the links at no additional cost to you. Thank you for the grocery money! For my full disclosure policy, click here.
Inspiration
My friend Tracy from She Loves Science told me that her daughter cut out some Nativity snowflakes and gave them to her teacher. I was enthralled with the idea and figured I'd try it out too. Here's my version!
How To Cut Nativity Snowflakes:
2. Draw your design.
(The important parts to leave attached are the bottom left corner of the stable, the star, the bar inside little stable, and the manger. My finger is in the center of the paper.)
3. Cut out your design.
4. Unfold!
I hope you enjoy this craft. If you're looking for more Nativity themed crafts, check out the links below!
More Easy Christmas Nativity-themed Kids crafts!
- Paper Plate Pop Up Nativity Craft
- DIY Felt Nativity Puppets
- Free Christmas Nativity Coloring Ornament Sheets
Happy making, friends!
And happy, happy holidays!


