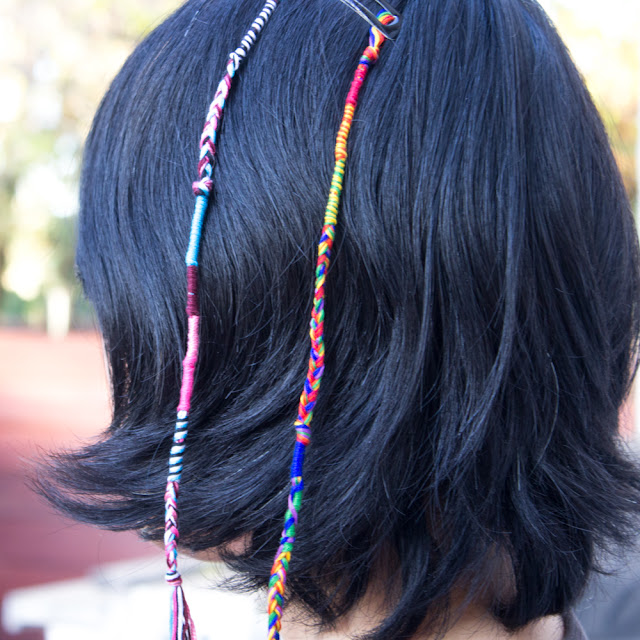
Today I'm sharing my solution with you- Tada! These DIY clip-in wraps are simple to make and easy to swap out. Now your kids can change up their wraps whenever they want!
DIY Clip-In Removable Hair Wraps
This post contains affiliate links. This means I make a small bit of money for any purchases made through the links at no additional cost to you. Thank you for your support. For my full disclosure policy, click here.
Materials Needed:
- Clipboard
- Embroidery Floss with bobbins*
- Scissors (We use sharp fabric scissors)
- Ruler
- Hair Clips (We used snap hair clips, but after peeking around the internet, I've seen some people use clips that resemble wig clips. I assume the wig clips give a more secure hold, so if you're making these as gifts, perhaps those are a better choice. We just had snap clips on hand and used those.)
*It's better to use embroidery floss wrapped around bobbins of some sort so the string doesn't get tangled up. Don't have bobbins? You can always DIY your own (We made cute cardboard bunny bobbins)
How to Make Clip-In Hair Wraps:
Step 1:
Cut out 6 strands of string about 48" in length (to make a 13" hair wrap). Fold the strings in half and tie a knot with a loop. (The loop will allow it to slide onto your snap clip.)Step 2:
Secure your embroidery floss to a clipboard.Step 3:
Time to wrap! The process is just like hair wrapping around real hair, except that we're going to just wrap around embroidery floss.To make a single band of color, grab 2 same-color strands and wrap them around the other strands.
Or, if you want to add a little bit of pop, grab 2 colors of strings and wrap them around the other strands.
When you're done with one section of color, simply tie the 2 strings around the rest in a knot to secure that band of color in place.
You could also add a fun braided effect by sectioning off your strands into 3 groups and braiding.
Just remember to tie all the strands into a knot to secure the braided section.
As you keep working on your hair wraps, slide the finished portion underneath the clip to hold your wrap in place!
Keep going until you're satisfied with the length and result. (We made 13" wraps with our initial 48" of string.)
Tie a knot and trim off extra string when you're done!
Then, slide the top loop over your hair clip.
And you're done!
Clip them in for some instant colorful fun!
Happy making, friends!


