
Get it? Rocket launcher? Blast? Like blast off? Hee hee hee... wah wah wah.
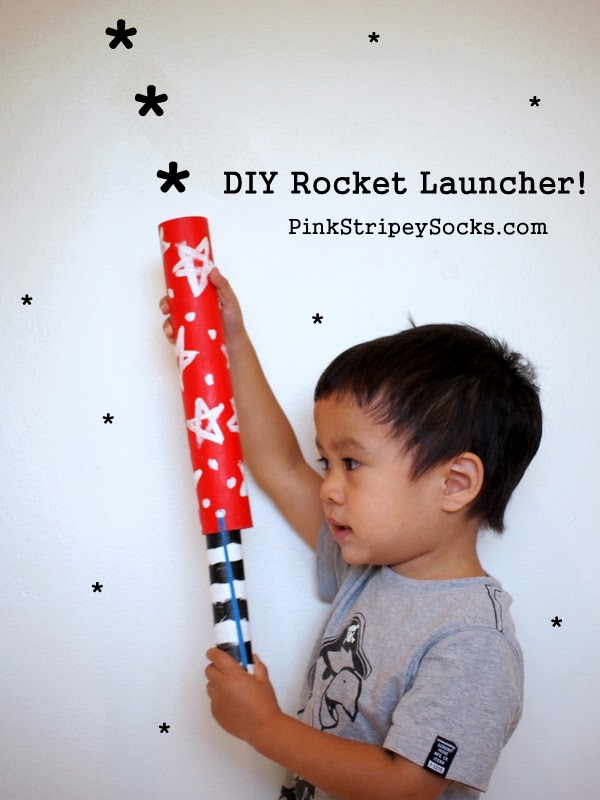
DIY Cardboard Roll Rocket Launcher Toy
(Note: This post contains affiliate links. Thank you for your support.)
This rocket launcher toy uses rubber bands and cardboard rolls to shoot aluminum foil balls. It's so powerful that we can actually shoot a ball across our (small) patio... whoa, right? Since the balls are made from aluminum foil, they don't hurt. So you could create several launchers, shoot each other, and then not worry about anyone getting hurt. Excellent, right?
Keep on reading to build your own rocket launcher and see other cool DIY toys that you can make and play with your little one.
Materials Needed to Build DIY Toy Rocket Launcher
- 2 Cardboard Rolls (One thicker one, one thinner one- we used a paper towel roll and an aluminum foil one)
- Cereal box
- Pen
- Hot glue gun
- Paint
- Paint brushes
- Aluminum Foil
- 3 Rubber Bands
- Scissors
- Hole Punch
- Optional:
- Styrofoam block
- Skewers
- Mary Wallace's I Can Make That!: Fantastic Crafts for Kids
(I got this idea from this great book which contains a TON of awesome craft ideas for kids.)
Let's Build Ourselves a Rocket Launcher!
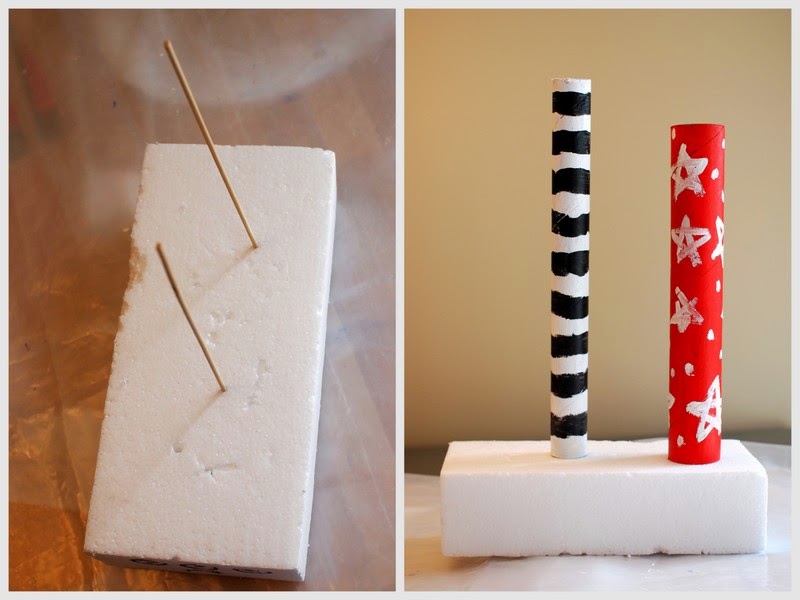
1. Cover your work area. Paint your two cardboard rolls. (To help them dry nicely, I stuck two skewers into a Styrofoam block. Then, I just let the painted cardboard rolls dry on the skewers.)

2. Take your thinner cardboard roll and trace it onto a cereal box. Cut out the circle and hot glue it onto one end of your tube. (Alternatively, you could just use masking tape to cover the opening. I just did it this way to make it look nicer.) You need this end closed to hit your ball.
3. Punch two holes (across from each other) in one end of both tubes. (Punch holes in the open end of the smaller tube.)
4. Loop rubber bands through the larger tube's holes.
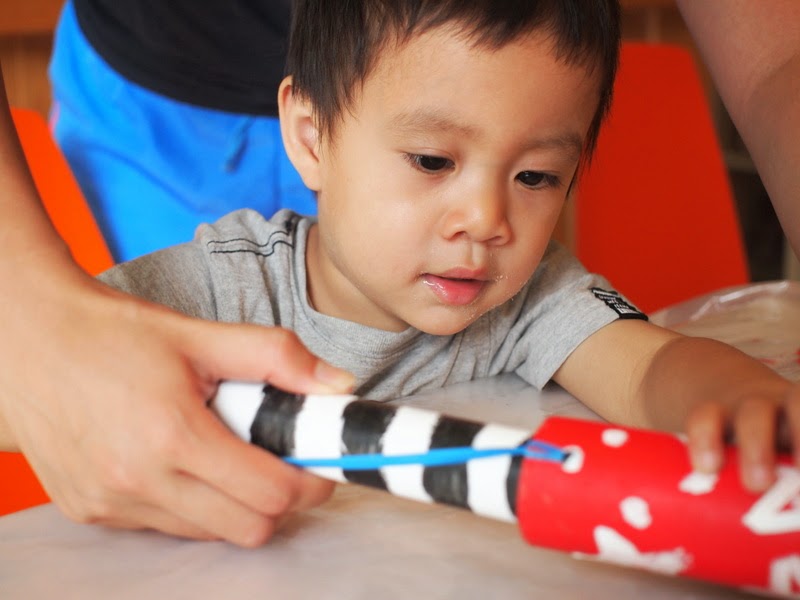
5. Place the smaller tube inside of the larger tube. Then, string the rubber bands through the smaller tube's holes.
6. Use a third (red) rubber band to tie both rubber bands together.
7. Trim your third rubber band and crumple up some aluminum foil balls.
Let's Shoot your DIY Rocket launcher toy!

1. Load your rocket launcher. Place the aluminum foil ball inside the open end of the large tube.
2. Then, pull back on the smaller tube and let go to shoot the aluminum foil balls.
Here are some photos from our inaugural attempt:
(Doesn't Chuck look super excited to try it out?)

Load it, pull it back, let go, and watch your aluminum balls fly!

Chuck doesn't always like all of my crafted toys, so I was really happy that he liked this one so much. He even requested to play it for the next couple of days. (Oh yeah, and if you're our neighbor, sorry for sending a ball over the fence. Oops!)

Here are some other fun DIY toys that you can build and play with!
- DIY Paper Sling Shot
- Moving rubber band powered race cars
- Build and fly a Paper Kite
- Moving magnet game
- Tabletop Pom Pom Soccer Game
And you can also find other great kid ideas on my Pinterest, Facebook, Instagram, or Twitter accounts!
Happy launching, fellow maker moms!