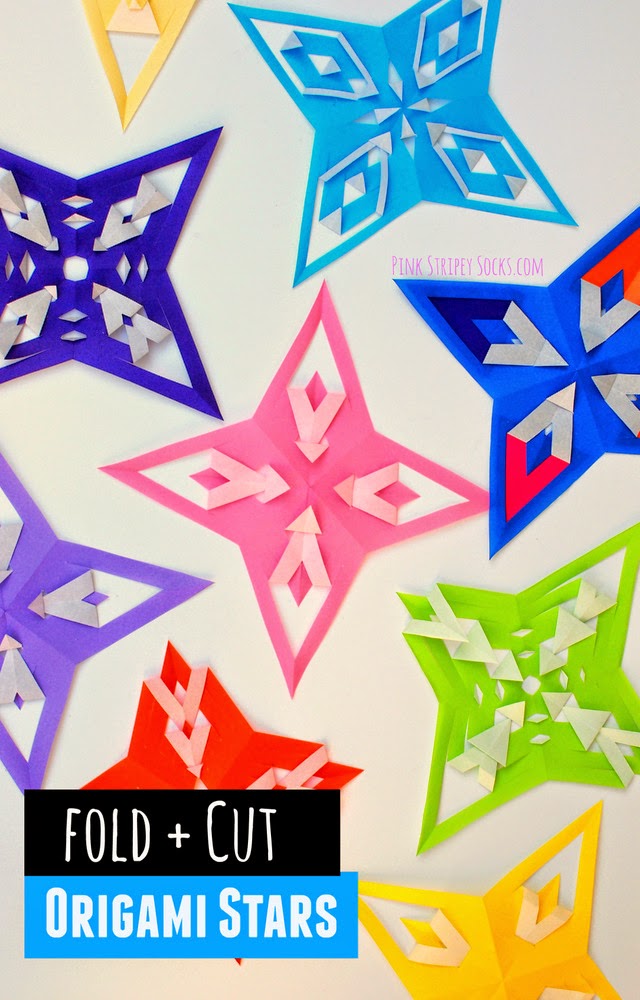
How to Fold and Cut Origami Stars
This post contains affiliate links. Thank you for your support!
So keep reading to see how I made them.
Oh yeah. Guess what? I took the plunge and actually shot videos of me folding the paper and explaining my process. I know, I know. Video is a completely new medium to me and I still have a lot of kinks to work out (like how to make things brighter!) But, I think the videos explain the process better than the photos. So I've included them in the post.
I got the idea for these stars from this awesome Easy Origami book
By the way, if you like other easy and unique Origami projects, then check out the fun links below!
Here are some photos showing the process:

Folding the Base:
1. Fold your paper in half (colorful side out.)
2. Open up your paper and fold your paper in half the other way (colorful side out.)
3. Open your paper up and flip it over. Then, fold the paper along the diagonal (white side out.)
4. Open your paper. Then, fold the paper along the other diagonal (white side out.)
5. Open up your sheet and then grabbing along the middle horizontal line, push two sides together until you get the base. (I know, this is confusing. It's much clearer if you watch the Part 1 movie.)
Making the Cuts and Star
6. Fold your base in half along the diagonal.
7. Fold up one side so it meets the other.
8. Open it up and cut along the fold. Then, cut out 3 parallel lines. (To see more complicated cuts and folds, check out the 3rd video below.)
9. Open up your star.
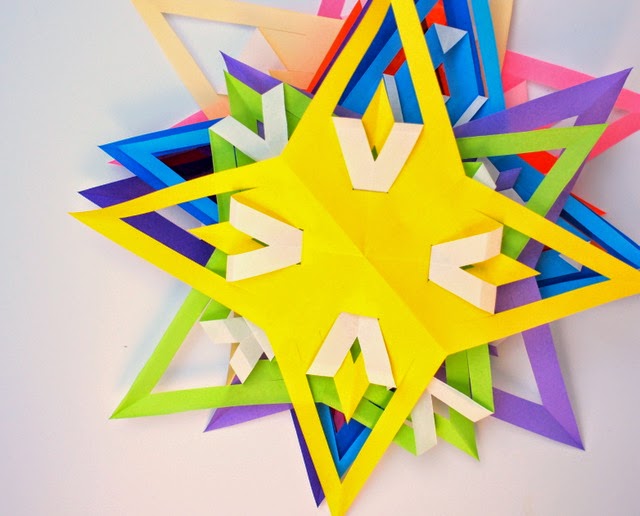
10. Fold the cuts over to create different designs!
If you could learn from my photos and descriptions, great! If you couldn't, don't worry... here are 3 videos showing you how to fold and cut your own origami stars!
Part 1: Folding the Base of the Origami Star
How to Make an Origami Star- Part 1 from Pink Stripey Socks on Vimeo.
Part 2: How to Make a Basic Star
How to Make an Origami Star Part 2- Basic cuts and folds from Pink Stripey Socks on Vimeo.
Part 3: How To Make a More Complicated Star
How to make an Origami Star Part 3- More complicated Folds from Pink Stripey Socks on Vimeo.
I hope you have lots of fun folding, cutting, and designing different stars! Vary the number of cuts and the spacing and you'll create lots of lovely, geometric designs!

It's so easy to create a whole bunch of colorful decorations! (Ours are currently hanging up in Chuck's room.)